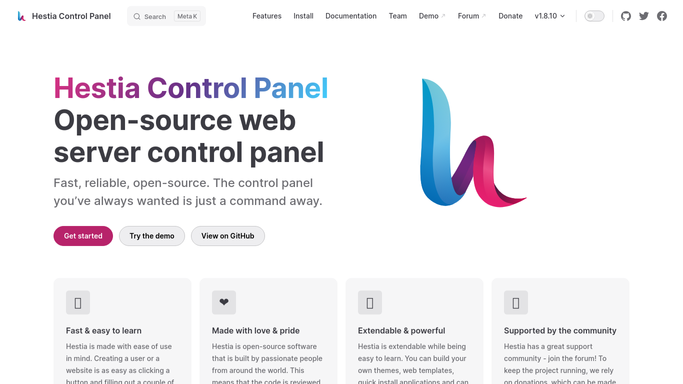
In this tutorial, we’ll guide you through the process of installing HestiaCP, a powerful control panel for web server management. HestiaCP is similar to VestaCP but offers more features and active support.
Developed by one of the original creators of VestaCP, HestiaCP is a better choice for users seeking an alternative to Vesta, as VestaCP has not seen updates in a long time and is considered a dead project by many. HestiaCP, on the other hand, has an active development team and excellent forum support, making it an ideal solution for managing servers.
Supported Operating Systems
Before beginning the installation, ensure that your server is running one of the supported operating systems:
- Debian 9
- Debian 10
- Ubuntu 16.04 LTS
- Ubuntu 18.04 LTS
- Ubuntu 20.04 LTS
You can find more information and updates on the official HestiaCP website: https://hestiacp.com. You can also explore the HestiaCP demo here: https://demo.hestiacp.com:8083/.
Step-by-Step Installation Process
Step 1: Log in to Your Server
First, log in as the root user to your server using an SSH client like PuTTY or a terminal on a Linux machine.
Step 2: Prepare Your Server
Before starting the installation, you’ll need to install a few dependencies on your server. Use the following command to install sudo, wget, and curl:
apt install sudo wget curl
Next, download the HestiaCP installation script using the following command:
wget https://raw.githubusercontent.com/hestiacp/hestiacp/release/install/hst-install.sh
Step 3: Run the Installation Command
Once the script is downloaded, run it with the desired options. You’ll need to customize the installation by changing the following flags with your specific details:
- –hostname – Your server’s domain name (e.g., server.domain.tld).
- –email – Your admin email address.
- –port – The port number for the admin/user GUI (default is 8083).
- –password – The admin password for HestiaCP.
The installation options can vary depending on the software and features you want to install. Below are some common installation configurations:
Full Installation (Nginx + Apache + PHP-FPM + Multiple PHP Versions + Email Server)
For a complete setup with Nginx, Apache, PHP-FPM, multiple PHP versions, email server with ClamAV and SpamAssassin, and MariaDB (requires 2GB RAM or more), run the following command:
sudo bash ./hst-install.sh --nginx yes --apache yes --phpfpm yes --multiphp yes --mysql yes --postgresql no --vsftpd yes --proftpd no --exim yes --dovecot yes --clamav yes --spamassassin yes --iptables yes --fail2ban yes --quota yes --hostname server.domain.tld --email admin@gmail.com --port 8083 --password admin_password --lang en --api yes --interactive yes
Install Nginx + PHP-FPM with Multiple PHP Versions and Email Server (Without Apache)
For a setup with Nginx, PHP-FPM, multiple PHP versions, and an email server with ClamAV and SpamAssassin, use this command (requires 2GB RAM or more):
sudo bash ./hst-install.sh --nginx yes --apache no --phpfpm yes --multiphp yes --mysql yes --postgresql no --vsftpd yes --proftpd no --exim yes --dovecot yes --clamav yes --spamassassin yes --iptables yes --fail2ban yes --quota yes --hostname server.domain.tld --email admin@gmail.com --port 8083 --password admin_password --lang en --api yes --interactive yes
Install Apache + PHP-FPM with Multiple PHP Versions and Email Server
For an installation that includes Apache, PHP-FPM, multiple PHP versions, and an email server with ClamAV and SpamAssassin (requires 2GB RAM or more), use the following:
sudo bash ./hst-install.sh --nginx no --apache yes --phpfpm yes --multiphp yes --mysql yes --postgresql no --vsftpd yes --proftpd no --exim yes --dovecot yes --clamav yes --spamassassin yes --iptables yes --fail2ban yes --quota yes --hostname server.domain.tld --email admin@gmail.com --port 8083 --password admin_password --lang en --api yes --interactive yes
Light Installation (1GB RAM and Above)
For smaller setups or those with 1GB of RAM, you can opt for a lighter configuration with Nginx, Apache, PHP-FPM, multiple PHP versions, and a basic email server without ClamAV and SpamAssassin (for security purposes), along with MariaDB. This configuration will work if you do not require advanced security features:
sudo bash ./hst-install.sh --nginx yes --apache yes --phpfpm yes --multiphp yes --mysql yes --postgresql no --vsftpd yes --proftpd no --exim yes --dovecot yes --clamav no --spamassassin no --iptables yes --fail2ban yes --quota yes --hostname server.domain.tld --email admin@gmail.com --port 8083 --password admin_password --lang en --api yes --interactive yes
Install Nginx + PHP-FPM (Without Apache) and Basic Email Server (1GB RAM)
If you only need Nginx, PHP-FPM with multiple PHP versions, and a basic email server, run the following:
sudo bash ./hst-install.sh --nginx yes --apache no --phpfpm yes --multiphp yes --mysql yes --postgresql no --vsftpd yes --proftpd no --exim yes --dovecot yes --clamav no --spamassassin no --iptables yes --fail2ban yes --quota yes --hostname server.domain.tld --email admin@gmail.com --port 8083 --password admin_password --lang en --api yes --interactive yes
Install PostgreSQL (Optional)
If you wish to install PostgreSQL instead of MySQL, simply change the –postgresql no option to –postgresql yes in the command.
That’s It!
After completing the installation process, you’ll have HestiaCP set up on your server, ready to manage web services, databases, email, and more. HestiaCP provides a user-friendly interface and powerful features for administrators, making it a solid choice for server management. With its active development and strong community support, HestiaCP is a great alternative to outdated control panels like VestaCP.
You May Also Like
- How to get more website traffic and make sales
- How to Install Composer in CWP, Vesta, cPanel, and Plesk on CentOS/Ubuntu
- How to Import a Large MySQL Database via Command Line on CWP, VestaCP, and cPanel Servers
- Engage Your Audience: The Key to Effective Website Sales Content
- 10 Internet Browsing Tricks You Probably Never Knew Existed
